Current Location:
Step-by-Step Leaf Spring Installation for Commercial Trucks
2026-10-14There comes a point in nearly every commercial truck's life when the leaf springs have to come off. Whether you are dealing with a snapped main leaf, a collapsed arch, or simply accumulated fatigue after years of hauling, the installation process is where a lot of avoidable problems begin. Done right, a new spring pack restores ride height and load capacity exactly as intended. Done carelessly, it can introduce misalignment, premature bushing wear, and a return trip to the shop within months.
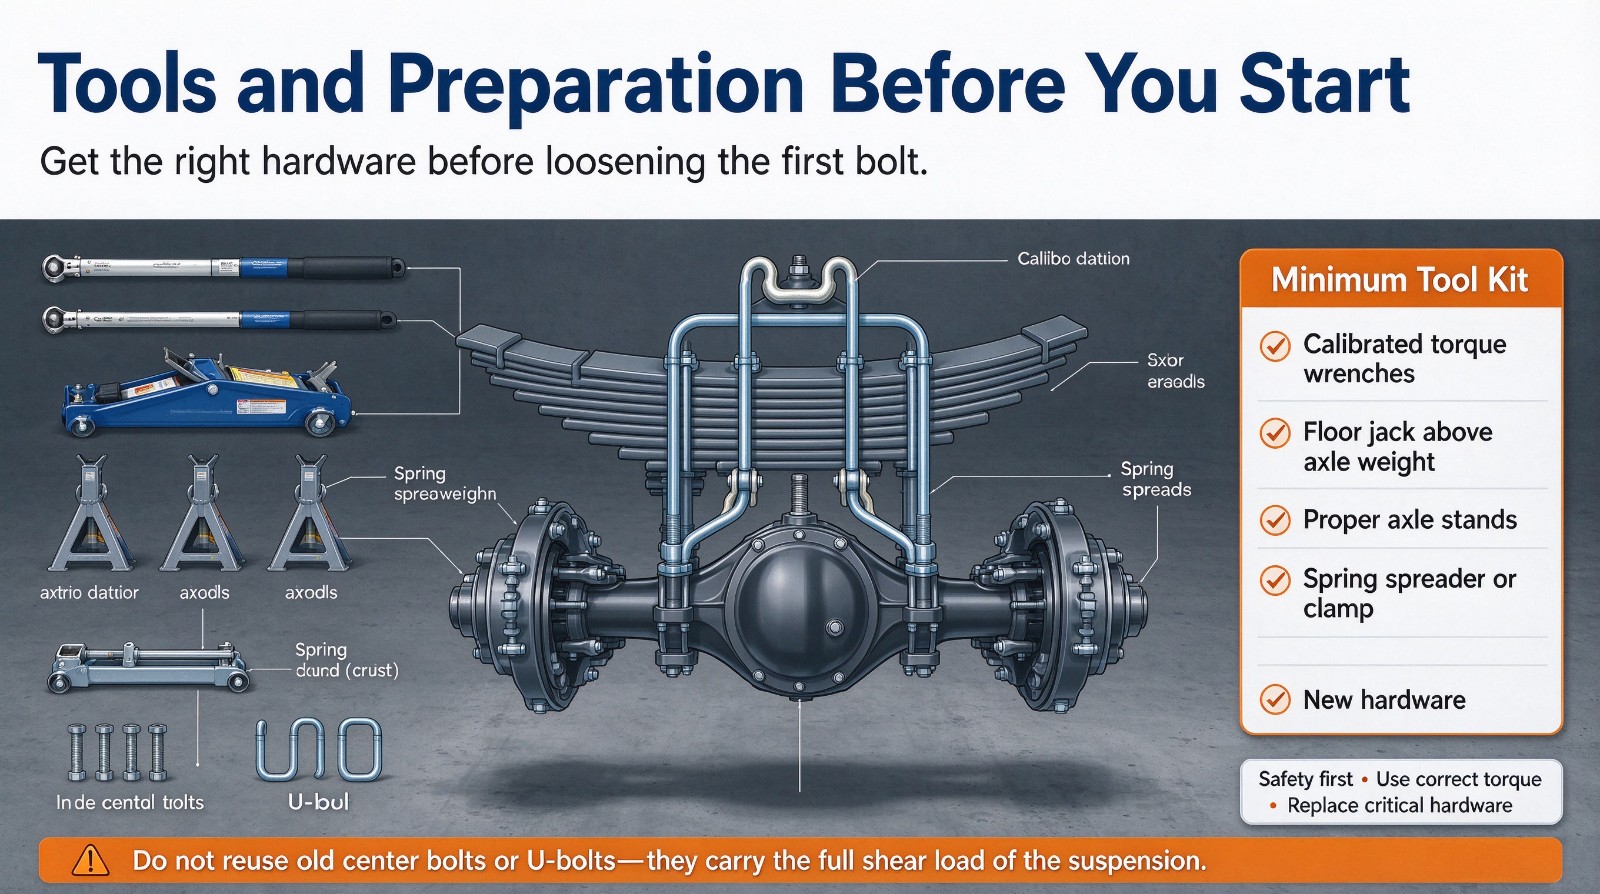
Tools and Preparation Before You Start
Before the first bolt is loosened, get the right hardware on hand. At minimum you will need a set of calibrated torque wrenches sized for the U-bolt and shackle specifications, a floor jack rated well above the axle weight, proper axle stands, a spring spreader or clamp for handling multi-leaf packs, and new hardware. Reusing old center bolts or U-bolts is a false economy — these parts are cheap relative to the labor involved and they take the full shear load of the suspension.
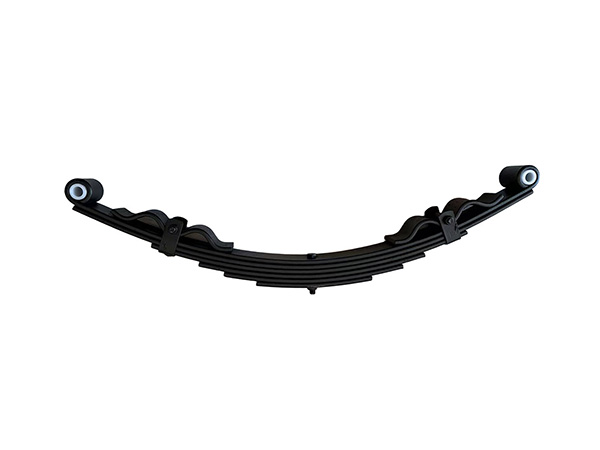
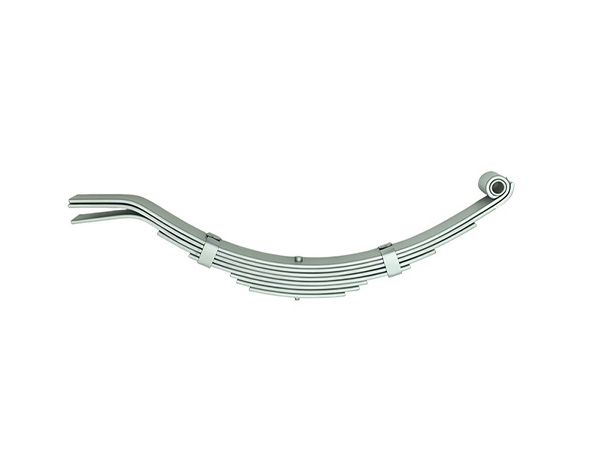
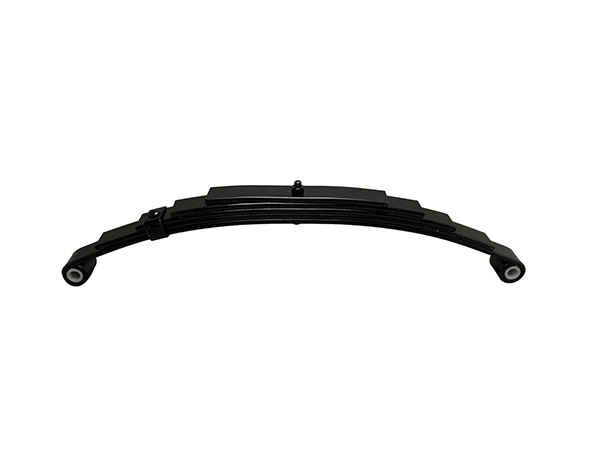
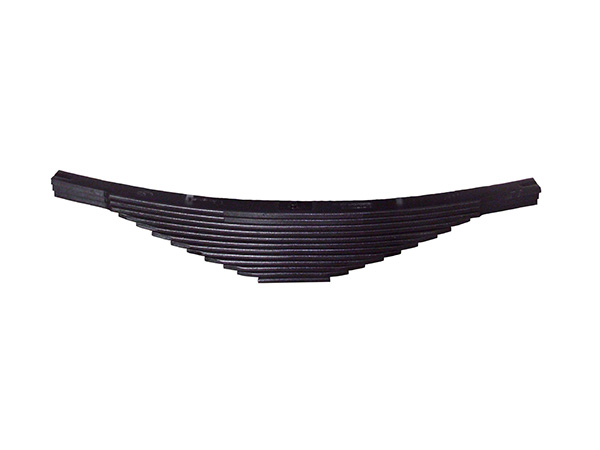
It also pays to confirm the replacement spring is the correct part before the truck is on the lift. Check the free arch, leaf count, overall length, eye-to-eye dimension, and bushing bore against the original. A mismatch that is discovered mid-installation turns a planned afternoon job into a sourcing headache.
Safety First: Supporting the Axle
Never, under any circumstances, support a vehicle by the spring itself while it is being removed. The spring is what holds the axle in place, and the moment the last bolt is out the axle will drop. Position a rated floor jack directly under the axle center, then raise it until it just takes the weight off the spring. Place axle stands on the frame rails or a solid portion of the chassis, not on the spring. Only then begin loosening the U-bolts.
This step is where shortcuts cause injuries. A 12,000-pound rear axle dropping even a few inches carries enough energy to crush a hand or foot. The extra ten minutes spent setting up proper support is non-negotiable.
Removing the Old Spring Assembly
With the axle supported, start by loosening the U-bolts that clamp the spring to the axle seat. Work in a cross pattern and back them off gradually rather than fully releasing one side first. Once the U-bolts are free, move to the shackle and front eye. On most heavy duty trucks the front eye is fixed to a hanger and the rear eye pivots on a shackle bolt. Remove the shackle bolt last, after the spring is no longer clamped to the axle, so the assembly can swing free without binding.
Take note of the orientation as it comes out. Springs are not always symmetrical, and an inverted pack will sit at the wrong arch and contact the frame. Photograph the installation before disassembly if there is any doubt.
Inspecting Related Components
A spring removal is the ideal moment to inspect everything it touches. Look at the spring hangers for cracking at the welds, check the shackle bushings for play, and examine the axle seat for scoring. If the U-bolts show any stretching or thread damage, they are already compromised. These components share the suspension load, and a fresh spring bolted to a worn hanger negates much of the benefit of the replacement.
Fitting the New Leaf Spring
Position the new spring so the fixed eye engages the front hanger first, then align the rear eye with the shackle. Hand-start the U-bolts before applying any torque, and make sure the axle seat sits centered on the spring. The spring should sit flat without twisting the shackle. If it does not line up, do not force it — a forced alignment means a dimension is wrong somewhere and the issue will surface as handling problems later.
Torque Sequences for U-Bolts and Center Bolts
U-bolts should be tightened in a cross pattern to the specification listed for the application, typically a high value because they are expected to retain clamp load under constant vibration. A common mistake is torquing U-bolts to the axle with the suspension unloaded and then never revisiting them. Re-torque after the first 50 to 100 miles of operation is standard practice, because the new spring settles and the bolts relax slightly as the leaves bed in.
The center bolt, which holds the leaf pack together, should not be over-tightened. It is a locating and clamping device, not a structural load path. Follow the manufacturer's spec; over-torquing can snap the bolt head and let the leaves shift.
Post-Installation Checks and Alignment
Once everything is torqued, lower the truck and check ride height at all four corners against the manufacturer's specification. A rear that sits noticeably higher or lower than before points to a wrong spring rate or an installation error. Follow up with a wheel alignment, since changing spring geometry alters toe and thrust angle. Finally, take a short test drive and listen for clunks over bumps — any new noise means a fastener or bushing is not seated.
Closing Thoughts
Leaf spring installation is not technically difficult, but it is unforgiving of carelessness. The combination of correct hardware, proper axle support, accurate torque, and a follow-up re-torque addresses the vast majority of premature failures. Sourcing springs and the accompanying hardware from a supplier that can confirm dimensions and rates against your truck model removes much of the guesswork before the wrenches come out.
References
Society of Automotive Engineers. (2021). SAE J1123: Recommended Practice for Vehicle Suspension Springs and Stabilizer Bars. SAE International, Warrendale, PA.
Knowles, D. (2005). Automotive Suspension & Steering Systems (3rd ed.). Thomson Delmar Learning, Clifton Park, NY.
National Institute for Automotive Service Excellence. (2020). Automobile Suspension and Steering Certification Task List. ASE, Leesburg, VA.
Federal Motor Carrier Safety Administration. (2019). Inspection, Repair, and Maintenance Requirements for Commercial Motor Vehicles. U.S. DOT, Washington, D.C.